How to Remove 3D Scene Stickers from DIY Creations Without Causing Damage?
Introduction: The Appeal of 3D Scene Stickers in DIY Projects
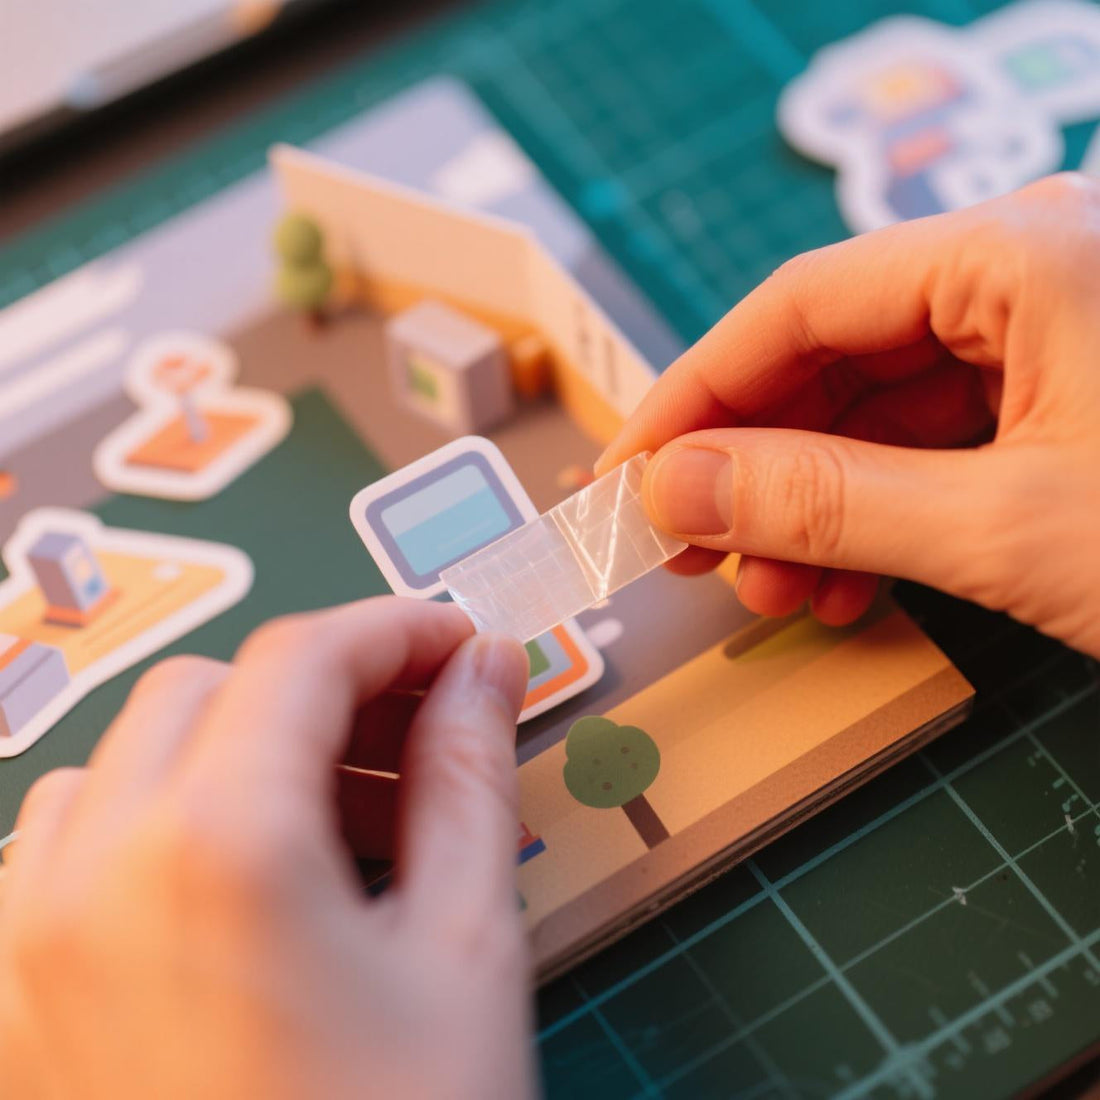
DIY projects are all about creativity, personal touch, and bringing your ideas to life. And when it comes to adding that extra flair, 3D scene stickers have become a go-to choice for many DIY enthusiasts. These stickers can transform a plain wall, furniture, or any craft project into something vibrant and unique. Whether you're decorating a nursery, adding depth to your scrapbook, or customizing a set of drawers, the versatility and aesthetic appeal of 3D scene stickers make them incredibly popular.
However, as much as these stickers enhance the overall look, there may come a time when they need to be removed. Maybe you're redecorating or simply want a change. The challenge lies in removing these 3D scene stickers without causing any damage to the surface beneath. Whether it’s a wall, a piece of furniture, or a canvas, it's essential to approach the task carefully to avoid unnecessary harm. In this article, we’ll guide you through the best methods to safely remove these stickers and keep your DIY creations in pristine condition.
Step-by-Step Guide to Safely Remove 3D Scene Stickers
When it comes to removing 3D scene stickers, the process can vary depending on the surface, the type of adhesive, and how long the stickers have been in place. Here's a step-by-step guide to ensure you remove them with care:
1. Preparing the Surface and Tools
Before you begin the removal process, it’s essential to gather your tools. A little preparation goes a long way in ensuring that the job is done smoothly without causing any damage. Here’s what you’ll need:
-
A hairdryer or heat gun
-
A plastic scraper or credit card
-
Rubbing alcohol or adhesive remover
-
A soft cloth or sponge
-
Mild soap and water (optional)
Once you’ve gathered the necessary tools, the next step is to prepare the area around the sticker. Clear away any obstacles that could get in the way, such as small items on the table or decorative pieces nearby. For walls, make sure there’s no dust or dirt around the sticker's edges to prevent it from sticking again once you start removing it.
2. Gentle Removal Techniques to Avoid Damage
Now that you're ready, let’s get into the process of removing the 3D scene stickers:
-
Heat it Up: Start by using a hairdryer or heat gun on the sticker. Heat helps loosen the adhesive, making the sticker easier to peel off without leaving residue or tearing. Hold the heat source about six inches away from the surface and move it in circular motions for about 30 seconds. The heat will soften the glue, making the sticker more flexible.
-
Peel the Sticker: After heating, gently lift the corner of the sticker with a plastic scraper, credit card, or your fingers. Start from the edges and slowly work your way around. If you feel resistance, apply more heat. Patience is key – don't rush this step, as pulling too hard could tear the sticker or damage the underlying surface.
-
Check for Residue: If you notice any adhesive residue on the surface, don't panic. It’s common for stickers to leave behind a sticky layer, especially if they’ve been there for a while. Use rubbing alcohol or an adhesive remover on a soft cloth to wipe away any remnants. Apply a small amount of rubbing alcohol, then gently rub the area until the sticky residue comes off. If you prefer a more natural option, a mixture of mild soap and water can also work, though it may require more scrubbing.
3. Methods for Stubborn Stickers
In some cases, your 3D scene stickers may be particularly stubborn, either due to their adhesive strength or the type of surface they’ve been applied to. If you’re dealing with a sticker that resists heat and gentle peeling, here are a few additional methods to try:
-
Freezing: If the sticker is difficult to peel off, try placing an ice pack or a bag of ice cubes on it for a few minutes. The cold temperature can make the adhesive brittle, allowing you to lift the sticker more easily.
-
Vinegar or Citrus-Based Cleaners: Another method is using white vinegar or a citrus-based cleaner, which are excellent for breaking down adhesive. Soak a cloth in the solution, then press it against the sticker for several minutes. Once the adhesive softens, you should be able to peel the sticker away.
-
Commercial Adhesive Removers: For really tough stickers, commercial adhesive removers can be a lifesaver. Just be sure to test the product on a small, inconspicuous area before applying it to the entire sticker to ensure it doesn’t damage the surface.
How to Maintain Your DIY Creations After Removal
Once you've successfully removed the 3D scene stickers, it’s time to ensure that your DIY creations remain intact and beautiful. There may be some minor damage or residue left behind, but don’t worry! Here’s how to maintain the integrity of your creation:

1. Cleaning the Surface
After removing the sticker and any adhesive residue, it’s important to clean the surface thoroughly. This ensures that no leftover oils, dirt, or adhesive will affect any future decorations or projects. If you're working with a painted surface, make sure to wipe it gently to avoid scraping the paint.
For most surfaces, a simple wipe down with a damp cloth will suffice. For walls, it’s best to use a mild soap solution and water to prevent any streaks or residue. Dry the surface with a clean cloth afterward.
2. Repairing Any Minor Damage
Sometimes, removing a 3D scene sticker can result in slight damage to the surface, especially if it has been there for a long time. For instance, painted walls may show signs of peeling or discoloration. If this happens, you can use touch-up paint for walls or furniture to cover the affected area. For furniture, a wood repair kit may help fill in any scratches or dents.
If the surface is heavily damaged, you may need to consider re-finishing or sanding the area before applying new stickers or paint.
3. Preventing Sticker Residue from Causing Issues
To avoid future issues with residue or difficulty removing stickers, always ensure that the 3D scene stickers you use are of high quality. Look for products with a “removable” adhesive label, which will make them easier to take off later without leaving a mess. Also, avoid placing stickers on surfaces that are delicate or prone to damage, like freshly painted walls or newly finished furniture.
Conclusion
Removing 3D scene stickers from your DIY creations doesn't have to be a stressful task if you take the right approach. By using the correct tools and techniques, you can safely peel them off and maintain the integrity of your surfaces. Remember, patience is key—whether you're applying heat or using adhesive removers, always proceed carefully to avoid any damage. With the right steps, your DIY projects can remain as beautiful and intact as the day you created them.