How To Make Stickers For Your Junk Journal?
Share
Recently, we’ve launched a major sale on 3D scene stickers on our website! Feel free to browse and pick your favorites at 3D Scene Stickers Major Sale
Junk journaling is a fun and creative way to express your personal style, preserve memories, and experiment with various artistic techniques. One of the most important elements in creating a visually appealing junk journal is the use of stickers. Journal stickers can add a layer of fun, whimsy, or vintage charm to your pages, turning simple paper into a beautiful work of art. In this article, we will explore what junk journals are, whether they are still popular, and most importantly, how to make stickers for your junk journal.
What exactly is a junk journal?
A junk journal is essentially a handmade book made from a collection of various materials that might otherwise be thrown away or recycled. It is a creative and functional way to preserve memories, document daily life, or simply explore your artistic side. The term "junk" refers to the various found objects, paper scraps, postcards, book pages, fabric, and other materials that are repurposed into a journal.
The beauty of a junk journal is that it is entirely unique to the creator. You can use materials that reflect your personality, interests, and artistic preferences. This could include vintage papers, old book pages, ticket stubs, buttons, fabric scraps, and more. The possibilities are endless, and the result is often a visually rich and textured journal that tells a story beyond the written word.
While the journal itself is typically bound together with thread or staples, the inside pages often feature a combination of writing, collages, and embellishments. These embellishments could include journaling stickers, decorative stamps, tags, washi tape, and more. The key is to use materials that add interest and texture to each page.
Are junk journals still popular?
Yes, junk journals are still incredibly popular, particularly among creative types, scrapbookers, crafters, and DIY enthusiasts. The growth of social media platforms such as Instagram and Pinterest has helped elevate junk journaling to new heights, with people sharing their beautiful creations and inspiring others to start their own journals.
In fact, junk journals have become a part of a larger movement focused on sustainable and eco-friendly crafting. As people seek to reduce waste, using old paper, discarded items, and repurposed materials in their junk journals is an attractive option. It's an ideal way to recycle, give new life to forgotten objects, and create something uniquely personal.
Moreover, the therapeutic benefits of junk journaling cannot be overlooked. Many people find the process of assembling and decorating their journals to be a relaxing and fulfilling hobby. It offers an escape from the digital world and allows individuals to reconnect with their creativity, and in some cases, their memories.
How To Make Stickers For Your Junk Journal?
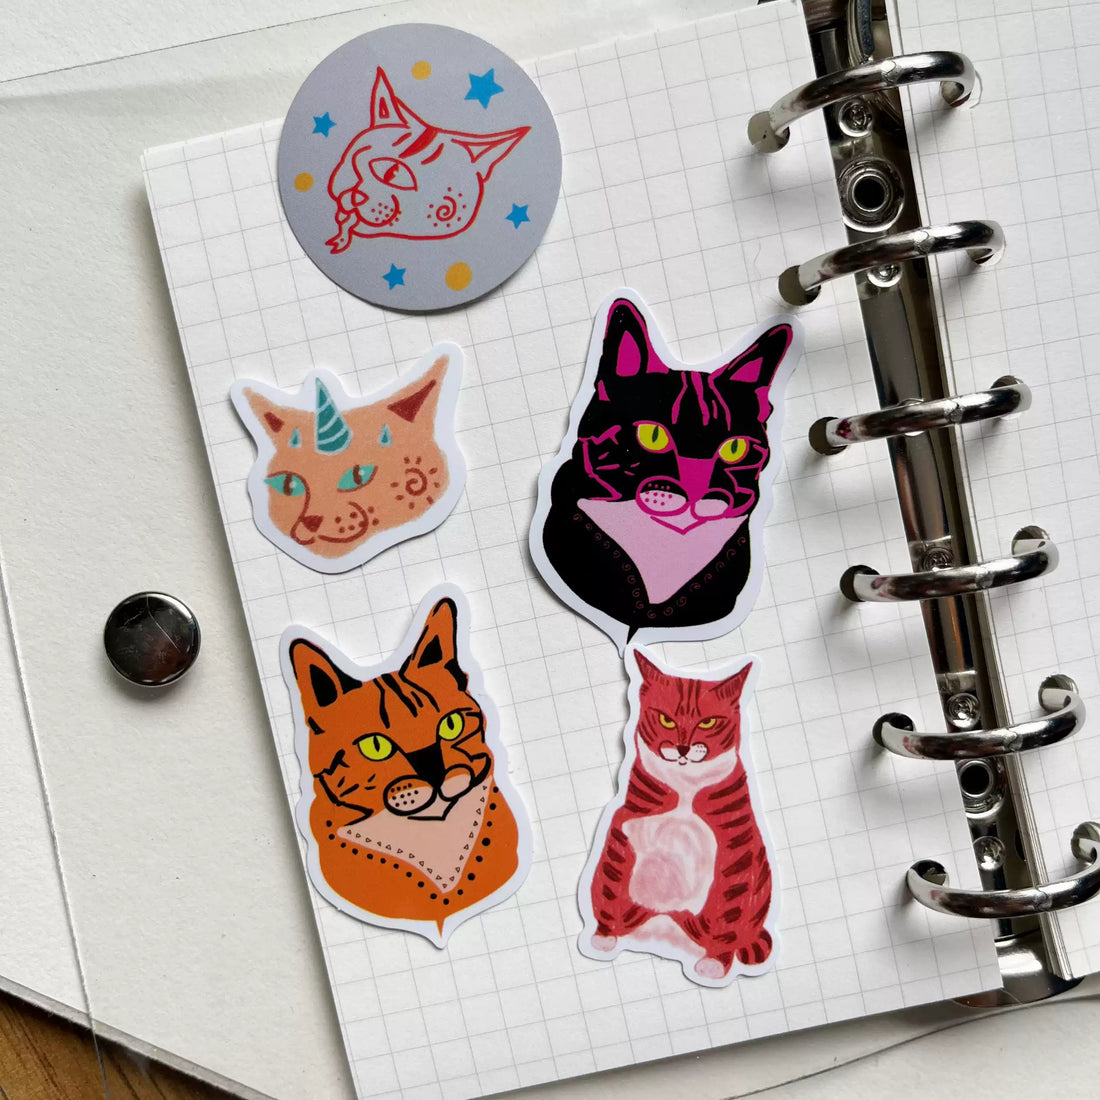
Stickers are a fantastic way to add flair and individuality to your junk journal. Whether you're looking for scrapbooking stickers, creative stickers, or vintage stickers, there are countless ways to make your own stickers that perfectly suit your journal's aesthetic. Here are some step-by-step instructions on how to make stickers for your junk journal:
1. Gather Your Supplies
The first step in making stickers is gathering the right materials. Here are the supplies you'll need:
-
Paper: Choose papers that complement the theme of your junk journal. You can use old book pages, patterned paper, or even plain white paper.
-
Sticker Paper or Adhesive Sheets: This is the material that will allow you to turn your designs into actual stickers. You can purchase adhesive sheets, or simply use regular paper and apply glue or double-sided tape after printing.
-
Scissors or Craft Knife: You'll need these to cut out your stickers once they are designed and printed.
-
Ink or Printer: A printer will allow you to print your custom designs. Alternatively, you can hand-draw your designs using markers, pens, or watercolor paints.
-
Stamps: If you prefer to stamp your stickers, you will need some rubber stamps or clear stamps to create images or phrases.
-
Sticker Templates: If you're looking for specific shapes or designs, using a template can help guide your cutting process.
2. Design Your Stickers
Now comes the fun part – designing your stickers! There are multiple ways to approach this:
-
Hand-drawn Designs: If you have artistic talent, you can create your own unique designs by drawing directly onto your chosen paper. This is a great way to ensure your stickers are 100% personalized and tailored to your journal. Use colorful markers, pens, or even watercolor paints to add vibrant details to your stickers.
-
Digital Designs: If you're not confident in your drawing skills, or if you prefer a more polished look, you can use digital design software like Canva, Adobe Illustrator, or even free tools like GIMP to create your sticker designs. Afterward, you can print these designs onto sticker paper.
-
Using Vintage Elements: For a vintage feel, you can incorporate elements like old book pages, newspaper clippings, and other distressed materials. You can also scan vintage photos or illustrations and turn them into digital sticker designs.
-
Stamps and Stencils: Rubber stamps and stencils can also be used to create beautiful sticker designs. You can stamp directly onto sticker paper or plain paper, then cut out the designs. This method works especially well for creating vintage stickers or nature-inspired designs.
3. Print and Cut Your Stickers
Once you've finalized your sticker designs, it’s time to print them. If you're using digital designs, simply load your sticker paper into your printer and print your artwork. Make sure to choose the highest quality print setting for crisp, clear images.
After printing, you’ll need to cut out your stickers. You can do this manually with scissors or use a craft knife for more intricate designs. Take your time to carefully cut around the edges of each sticker. If you used a template, follow the lines to get uniform shapes.
4. Apply Adhesive (If Needed)
If you're using regular paper instead of adhesive sheets, you'll need to add some glue or double-sided tape to the back of each sticker. Be sure to use a strong adhesive that will hold up well in your junk journal.
Alternatively, if you’re using adhesive sheets or sticker paper, you can skip this step. The sticky side is already applied to the back of your stickers.
5. Add Extra Touches
To make your journal stickers even more unique, consider adding extra elements. For example:
-
Embossing Powder: If you want a raised effect on your stickers, you can use embossing powder. Simply apply embossing ink to your design, sprinkle embossing powder over it, and heat it up with a heat tool.
-
Glitter: Add a touch of sparkle by using glue and glitter. This can be especially effective for decorative stickers or to highlight certain features of your designs.
-
Washi Tape: If you're using digital prints, consider layering your stickers with washi tape for a fun, decorative finish.
6. Arrange and Attach the Stickers
Now that you have your stickers, it's time to incorporate them into your junk journal. Consider the overall aesthetic of your journal pages before you attach the stickers. Stickers can be used to highlight specific areas of your pages, create borders, or simply add a decorative touch.
Play around with the placement of the stickers before committing to any one position. Don’t be afraid to layer your stickers over text or other embellishments. Junk journaling is all about creating an eclectic mix of materials and textures, so let your creativity flow.
7. Experiment with Different Styles
There are many styles of stickers that you can create for your junk journal, including:
-
Planner Stickers: These are functional stickers that you can use to add organization or a sense of structure to your journal. Think calendar icons, appointment labels, and bullet points.
-
Scrapbooking Stickers: These tend to be more decorative and are perfect for adding a personal touch to photos, ephemera, or collages in your journal.
-
Art Journal Supplies: These stickers can range from abstract shapes to hand-drawn elements, and they help transform your journal into an artistic masterpiece.
-
Vintage Stickers: Use old images, postcards, ticket stubs, and other vintage-inspired designs to create a nostalgic, retro feel in your junk journal.
-
DIY Stickers: Get creative and experiment with different materials. You can even use fabric, old buttons, or ribbons to make one-of-a-kind stickers.
Summary
Creating stickers for your junk journal is a rewarding and creative process that allows you to express your artistic flair and add personality to your journal. Whether you choose to handcraft your stickers or design them digitally, the possibilities are endless. Stickers can range from functional planner stickers to decorative vintage stickers, and you can experiment with different materials and techniques to achieve the look you want. By following the simple steps outlined above, you can create beautiful, personalized stickers that will make your junk journal truly unique.
Remember, junk journaling is about embracing imperfection and celebrating creativity. So gather your supplies, start designing, and enjoy the process of making journal stickers that perfectly reflect your personal style. Happy journaling!

